God morgon!
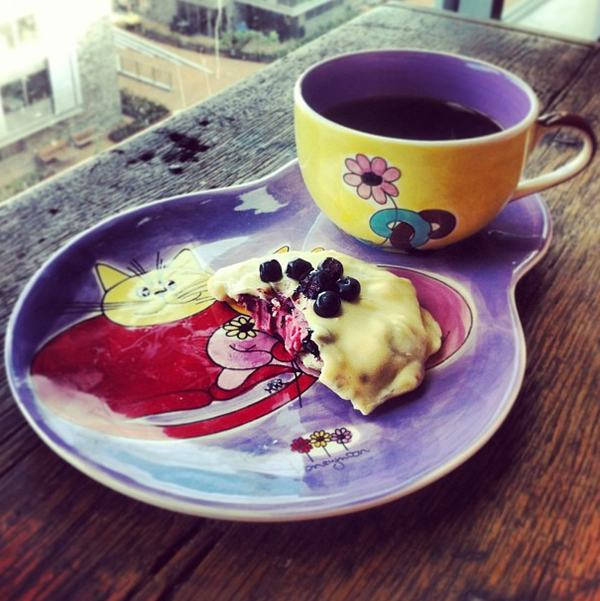
Såhär ser min frukost ut idag...
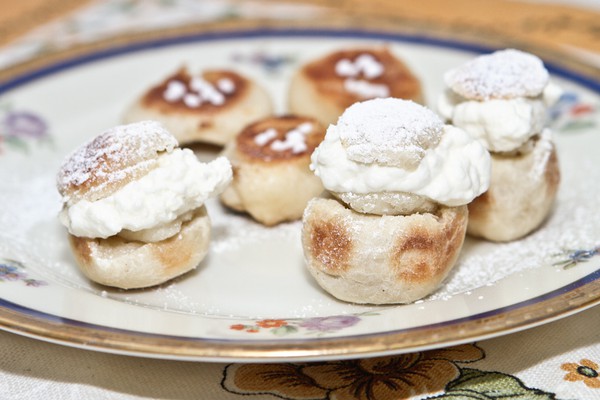
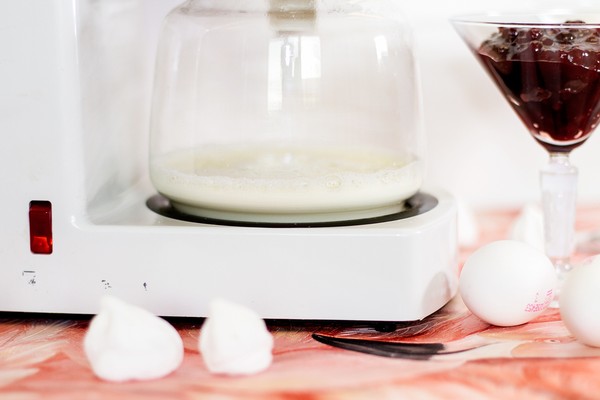
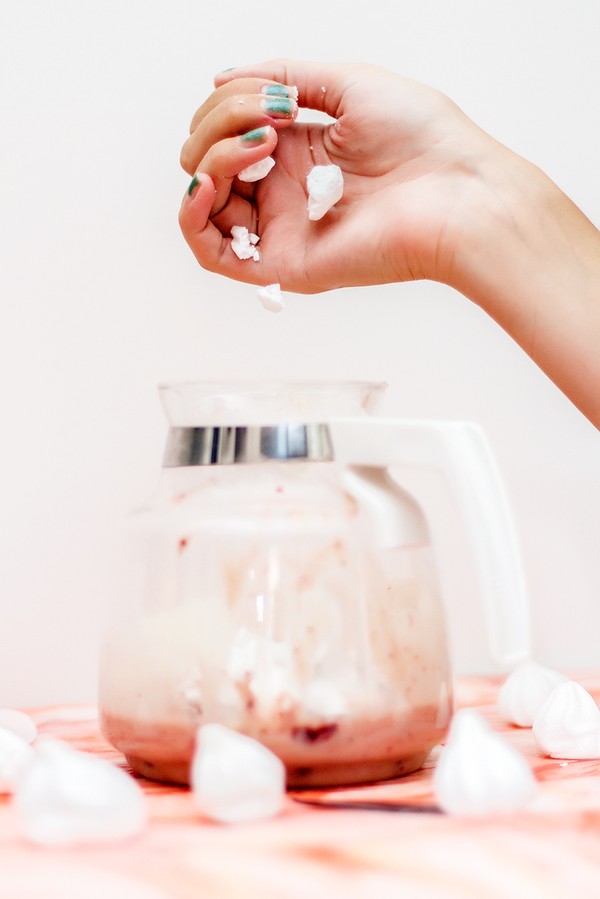
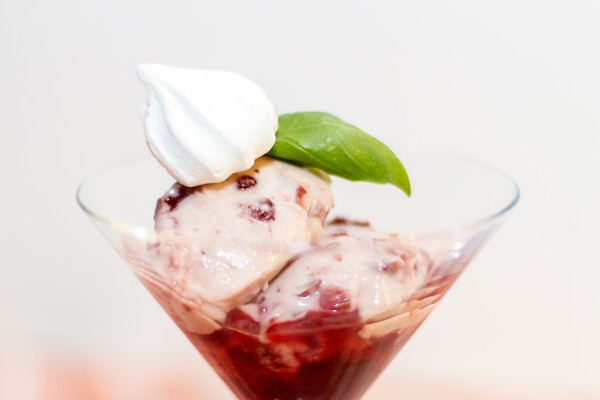
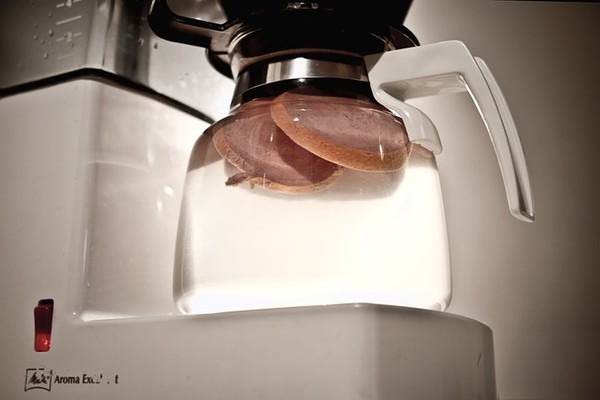
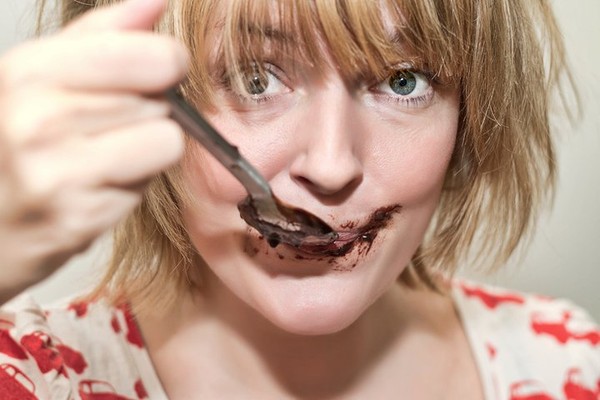
Det är kaffekokarlagat kaffe med en kaffekokarlagad vit chokladmandelbiskvi som är fylld med blåbärssmörkräm med basilika och lime. Plockade blåbären i skogen i söndags. Jag tror bannemej att detta är det godaste som min kaffekokare någonsin puttrat ihopa!
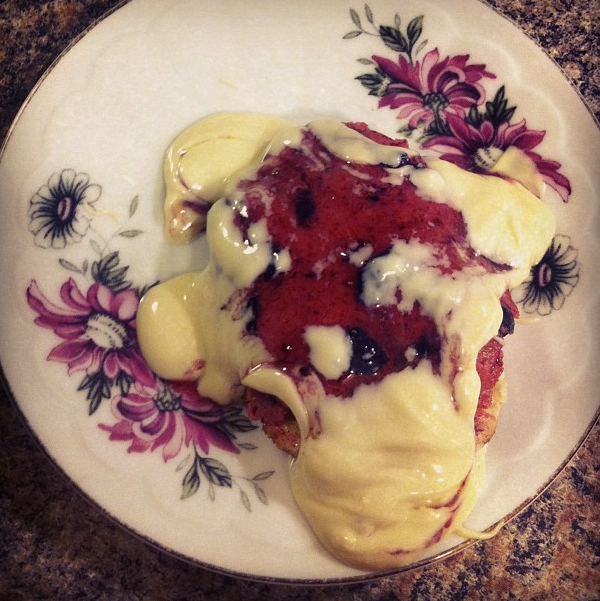
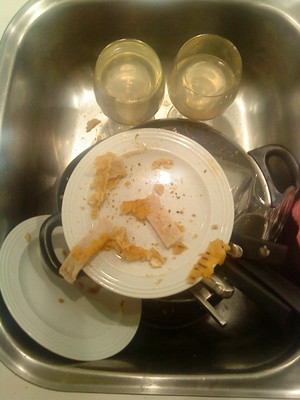
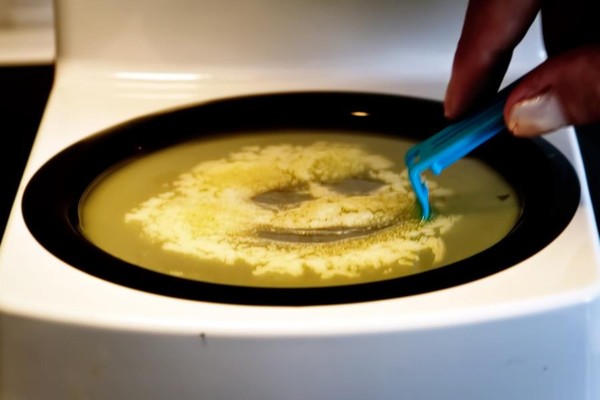
Men fasiken viilket pill det är att göra mandelbiskvier (i alla fall om man är ovan vid bakning kanske). Eller allt gick bra tills chokladen skulle på på toppen. Den första jag gjorde såg ut såhär...
Men lika god för det var den. Recept på dessa små godbitar kommer senare idag!
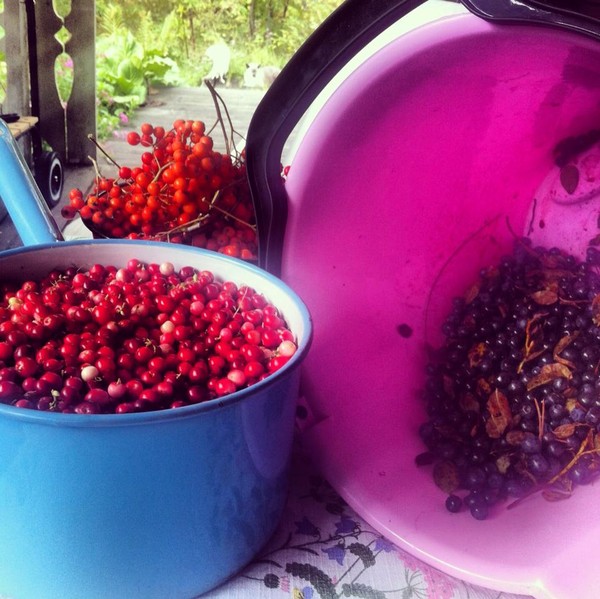
Som du ovan kan se blir det förhoppningsvis en hel del recept med bär framöver. Kom gärna med förslag!
Bli tigerfadder via Katt hjälper katt!
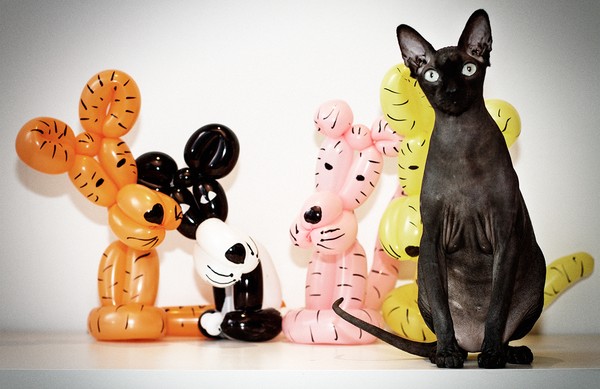
”Visste du att det bara finns 3 200 tigrar kvar i det vilda. Det är inte bra alls. Om tigrarna bara kunde bli fler lika lätt som jag gör en ballongtiger, vore det hur enkelt som helst. Men det går ju inte. Världsnaturfonden WWF behöver din hjälp. Bli Tigerfadder du också.”
Bli Tigerfadder för 25 kr i månaden och få en fin fadderberlock till din katts halsband. www.wwf.se/katthjalperkatt
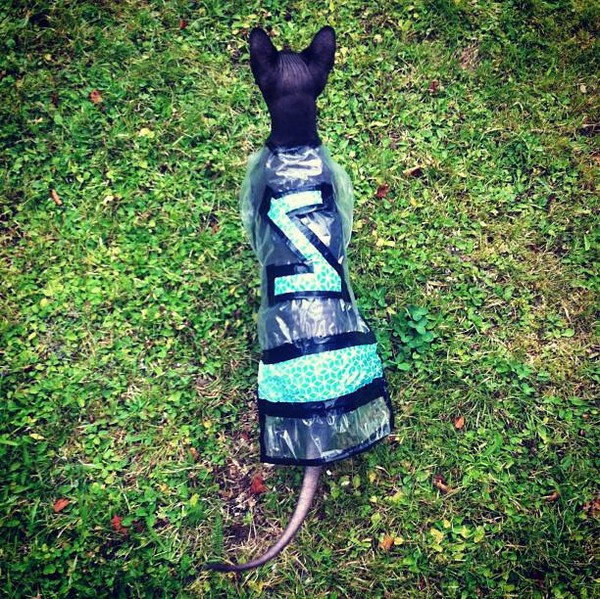
Katt Zappa i regnkappa!
Är i stugan och det är inte så bra väder som vi önskar. Men du vet ju vad man säger? Det finns inget dåligt väder, bara dåliga kläder. Så jag knåpade ihopa en regnkappa (mha svart tejp, genomskinlig plastpåse samt påse från apoteket) till Zappa så att han skulle få fortsätta att vara ute och leka.
Såhär fin blev han!
Jag var himla nöjd över skapelsen tills Dan påpekade att Zt var spegelvänt.
Uppdatering: Nu har jag även gjort en liten regnkeps. OCH vänt Zt rätt. Får se hur outfiten mottas när det börjar regna igen...
"Älskar masken" skrev en kompis just på FB!!!?! Som att en katt skulle bära mask?!
Hmm... Kanske vore nåt.
Håkan Hellström @ Way Out West!
Titta så fint det blev med alla ballonger på Håkan Hellströms konsert på Way out west i fredags!
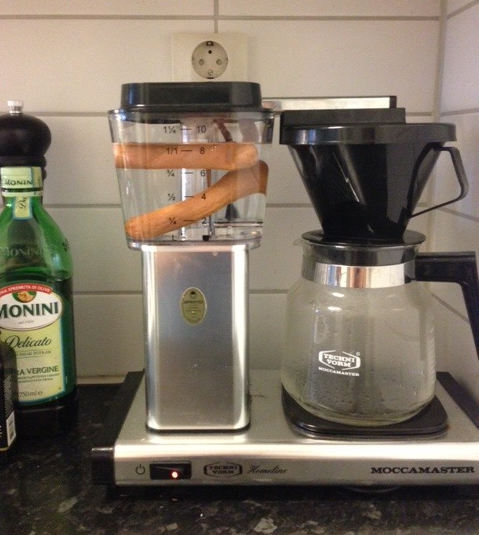
Det kom ett mail.
Hallå!
Jag fick höra om din briljanta idé med kaffekokarelagad mat av några vänner som sett din kokbok! Jag har själv inte köpt den (än), men gav mig ändå på ett försök. Men, det funkar inte! Får inte korven varm :/ Tycker annars att det är en sådan himla bra idé eftersom man inte behöver använda så många kastruller.
/Jenny
Bifogade bilden.
Typiskt Moccamasteranvändare!
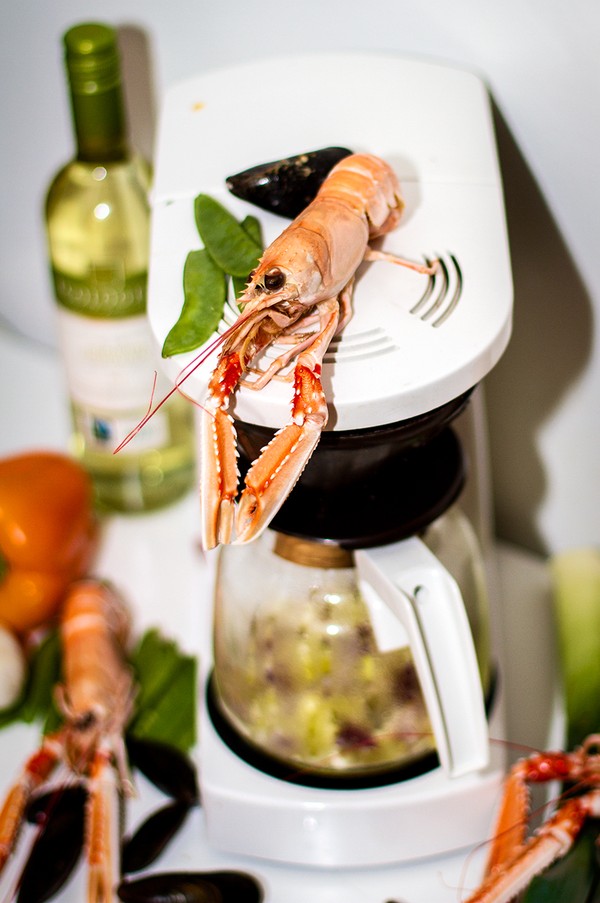
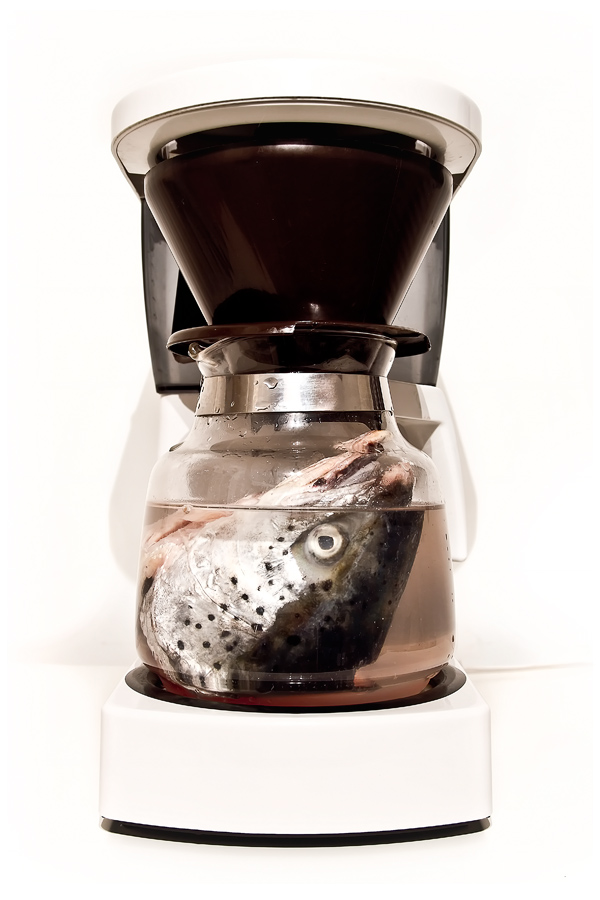
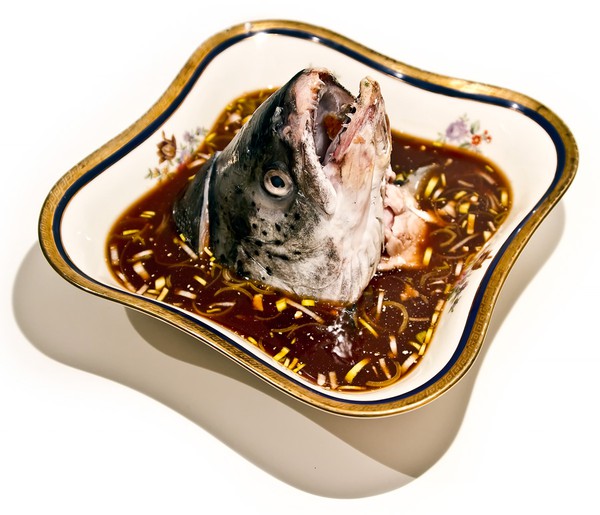
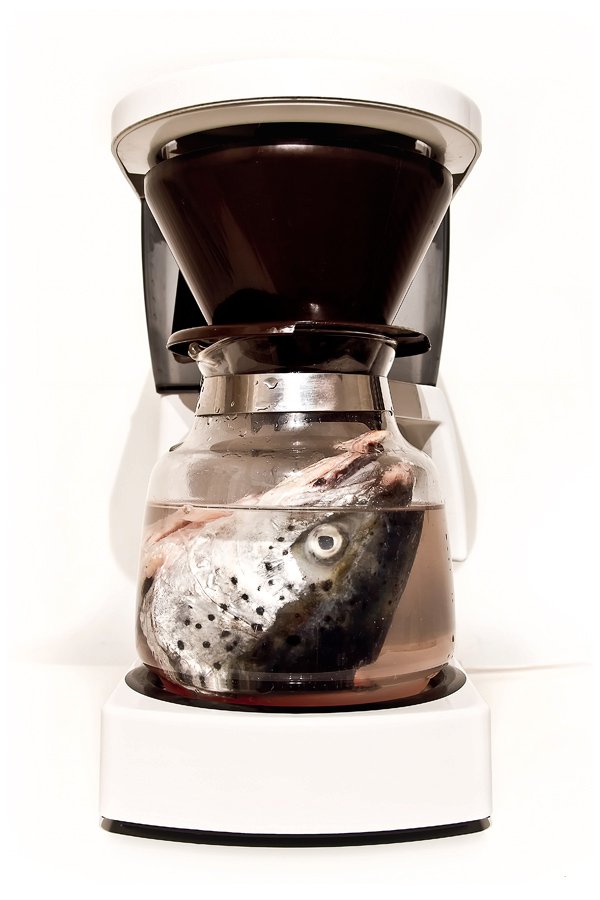
A fishy coffee maker made soup
This will be my last recipe as
a curator of Sweden. It's been a blast! Thank you for all the kind feedback, for showing interest and for your patience with me ande my coffe maker cooking talk. The thing I'll miss the most though is our cat tweeting!
Since I live in Gothenburg - known for fish and shellfish - I would like to share this recipe as my final (English) one. It's a real "Paradrätt" or parade right as you might say.
Time
1 evening
Ingredients
1 small red onion
Some selleri
1 garlic clove
2,5 dl cream
1 fish stock cube
1 filter thingy filled with mussels (about 15)
1,5 dl white wine
4 dl water
2 Norway lobster (is that the same as "Havskräftor"?)
Mixed fish pieces (I used salmon and some other fishies I don't remember)
1 handful of prawns
Saffron
Cayenne pepper
Salt
Bell pepper
Sugar peas
Curry
Butter
Instructions
Start your coffee maker. Melt the butter in the coffee maker can and can fry all the chopped onions for about 30 minutes. Meanwhile scrub the mussels and sort out the ones that's crappy.
Add cream, fish stock cube and wine in the can and place the mussels in the filter holder. Pour thereafter water into the coffee brewer. Now the mussels will be cooked perfectly in the filter holder, isn't it cool??!! Let it coffee maker cook for at least an hour so it get really warm. Season.
Throw in Norway lobsters, prawns, and the mussels a short while to improve the taste even more. Finally add the fish pieces and the crispy bell pepper pieces and sugar peas. Let it coffee maker cook for about 10 minutes - or until the fish is ready.
Turn of your coffee maker and serve.
Fuckin' fishylicious!
Coffee maker can frying!
This is so clever. I'm like a geniuse!
Would love to talk more with you here:
Alternative cooking devices
You should know by now that the coffee maker is an excellent little machine to cook food in. I've also tried some other appliances just for fun. One of the first one was the toaster. It was many, many years ago I heard that it works just fine to roast fish sticks in a toaster, haven't you heard that as well? Well it doesn't work just fine. Of all the thingies I've cooked with, the toaster is by far the worst one. When me and Dan were dating i borrowed his toaster when he was away somewhere. I wanted to try an experiment. Which kitchenware cooks fish sticks best of a toaster and a coffee maker.
Clear winner:The coffee maker.
The fish sticks fell into the toaster, you can't clean a toaster, everything after fish stick toaster cooking will smell like fish sticks. Eventually the toaster will start to smoke heavily and you'll have to throw it away. I still owe Dan a toaster.
This is how the fish sticks looked like after toaster cooking. Rest of them fell into the toaster.
Nuff said about the worthless toaster. Let's go on to the next alternative cooking supply - the iron.
I got invited to a Swedish tv-show and they wanted me to do a whole easter buffé in live TV. I tried to tell them that it takes a really long time to cook in a coffee maker so they said i could use 10 different coffee makers and a couple of irons. Crazy! I turned the invitation down (and they got furious!!) but I got curious about the iron cooking. Was at my parents' place at the time and since they had forbidden me from cooking in their washing machine I figured that it was OK that I borrowed their iron (they were at work).
Wanted to put oil in the water thingy so you could spray the burger with it, but since it wasn't my iron I didn't do it.
Looks yummie, doesn't it?! It wasn't. (the bread was old)
Next one - the dishwasher.
Before i started this coffee maker blog i tried to cook salmon in foil in the dishwasher and it came out perfect! Just put the salmon (or other fish) in foil, maybe together with vegetables and onion, season and add some olive oil and then put it in the dishwasher. When the dish is clean the fish is ready. Also made another recipe not so long ago with minced meat.
Read it here (guess what? Google translated).
Freshly out from the dishwasher.
And you can bake for example cinnamon buns in a bread roaster.
These were super delicious. Recipe here (you know what I'm gonna write here..).
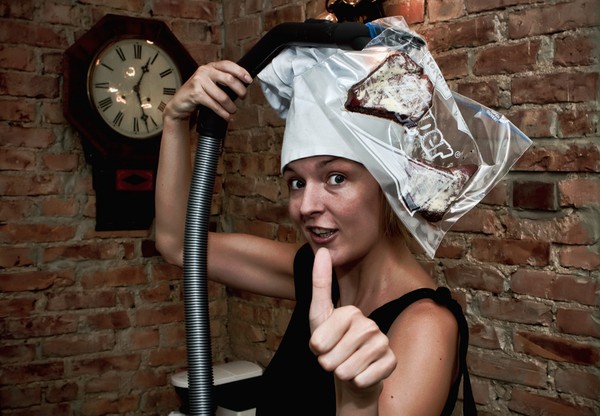
I tried to use a vacuum cleaner once, but more as an accessory to the coffee maker:
And now we continue with all the different hair devices.
The hair dryer (also accessory):
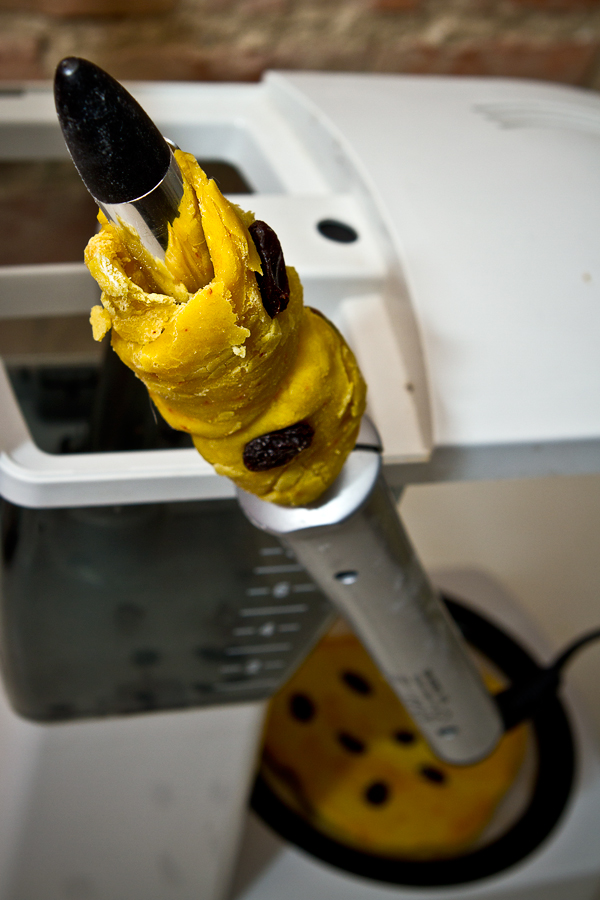
The hair curler:
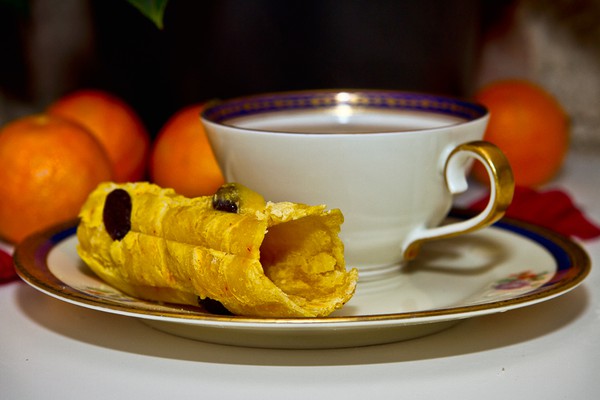
Baked a couple of different kinds of breads with the hair curler. This is the "Lussesnurra". You'll also find recipe of "Lusseplattor" in this recipe.
And we also have the hair straightener:
And my favorite hair device - the hair waffler:
I think that's all the alternative cooking devices for now. But none of the above are as good and versatile as this little fellow... The coffee maker!
Which one would you like to try? I would really like to cook in a washing machine...
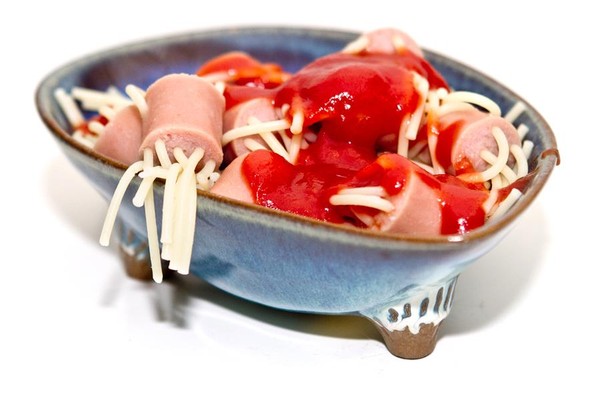
Sausaghetti
Sometimes people accuse me for being ineffective because I make food in a coffee maker. They obviously don't get the point at all. Of course I realize that it's more effective to cook on a stove or whatever. Kaffekokarkokboken is an experiment and me and Dan are doing this because we think it's a fun and creative project. And for those who still thinks we're ineffective take a closer look at this recipe. It's like a two birds with one stone recipe!
I call this dish for "Korvetti" in Swedish. It's a mix between the Swedish words for sausage and spaghetti. I guess the English name for the dish would be something like Sausaghetti. Hmm... The Swedish names for coffee maker cooked dishes never sounds as clever in English.
Ha! I just googled sausaghetti and found this dish! All though it wasn't made in a coffee maker.
This is how you cook your sausaghetti in a coffee maker.
Time
1 hour
Ingredients
Sausage
Spaghetti
Oil
Salt
Butter
Ketchup
Instructions
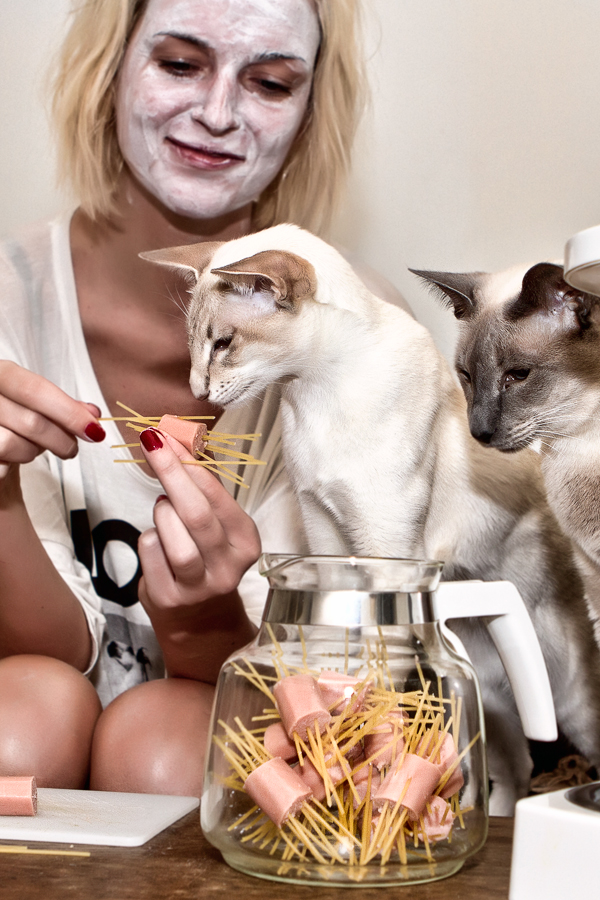
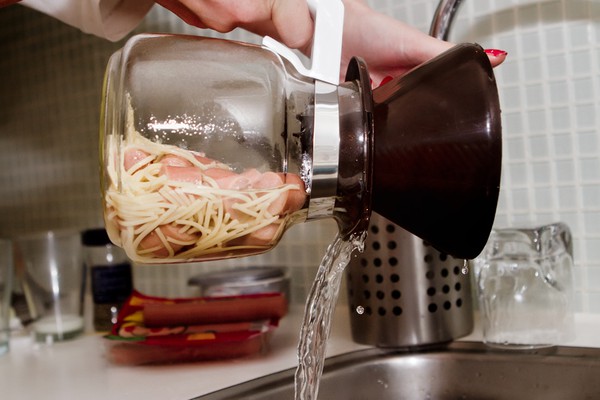
Divide the sausage into smaller pieces, break the spaghetti and fit in some of the spaghetti straws into the sausages. Put it in the coffee maker can, pour oil over it and also some salt. Add water in the coffee maker brewer and start your coffee maker.
Depending on what type of spaghetti you have the cooking time can vary. My sausaghetti was done after approximately 45 minutes after I poured water in the brewer. Turn off your coffee maker.
Pour off the water and add butter onto the sausaghetti. Stir. Place the sausaghetti on a plate and add ketchup.
Delish!
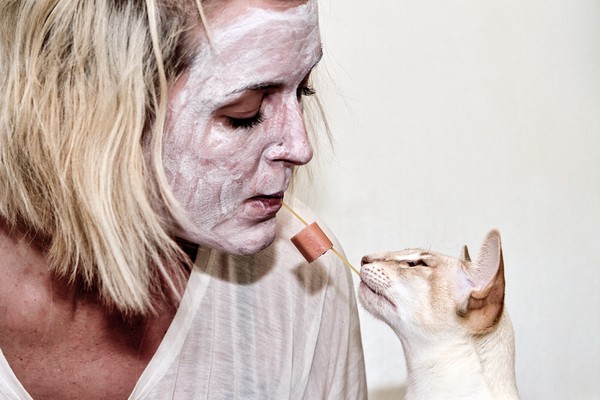
Prepare the sausaghetti together with your kids, they will love it!
"Mommiiiie, let go of my sausaghetti!"
The filter thingy works great as a strainer as well in coffee maker cooking.
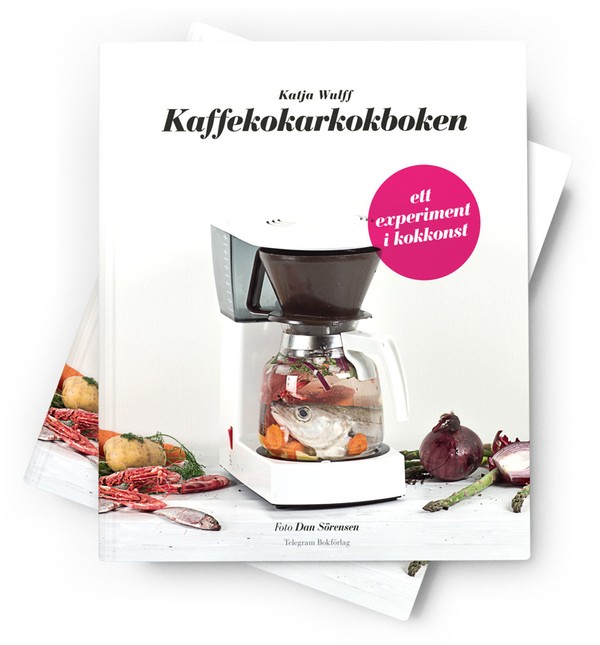
Win a Kaffekokarkokboken!
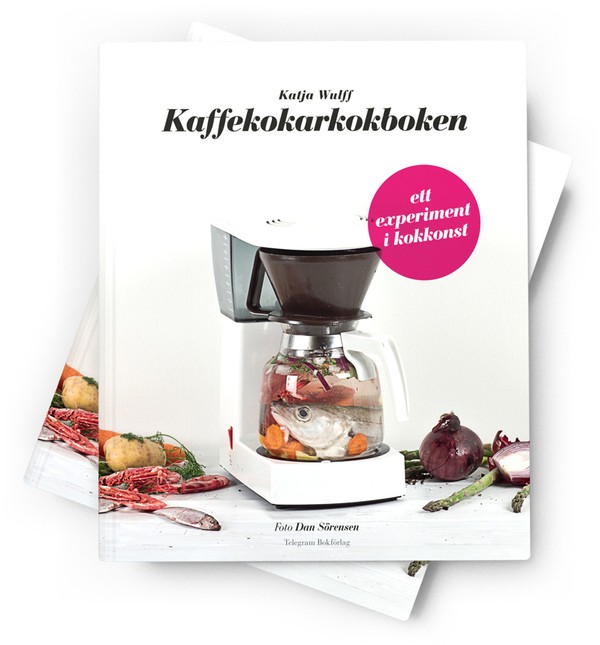
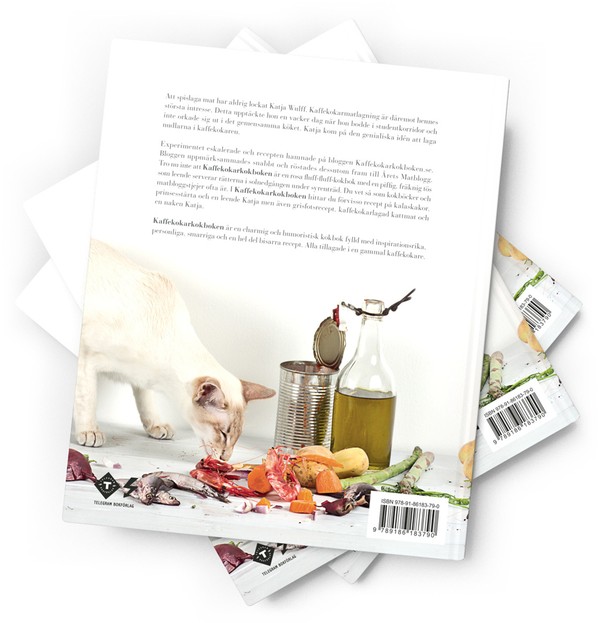
It looks like this and it can be your's! It’s in Swedish, but I’m sure you’ll get it.
100 pages of delicious coffee maker made recipes and other craziness.
All you have to do is take a picture with something (or someone) you want me to cook in a coffee maker. Or why not when you cook the thing in your own coffee maker? Post it on twitter or on instagram with hashtag #kaffekokarkokboken
Super duper easy!
If you don't have twitter or instagram you can mail the picture to
[email protected] or post it on Kaffekokarkokboken's
Facebook page (<- like, like, like <3 )
Shipped worldwide!
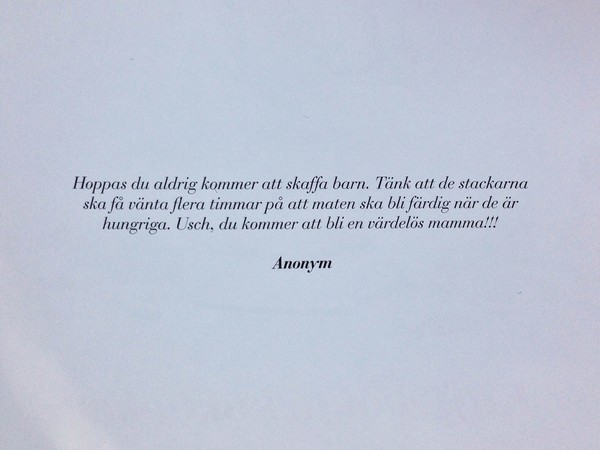
Oh, Kaffekokarkokboken starts with a comment from this blog:
Says something like this:
"I hope you'll never get any children. Think about the poor little ones when they have to wait hours for the food when they are hungry. Ugh, you're going to be a lousy mother!!!"
Anonymous
Hahaha!
You can compete until the 19th of july. The winner will be contacted shortly thereafter.
Swedish fika: Seven types of coffee maker made cookies
Ooops! I realized that I don't even have the ingredients for this recipe. You'll have to ask
Maria (whom I did this recipe with) for that. I guess it's just an ordinary shortcrust. Anyway the ingredients aren't as important as looks and execution. And I'll tell you all about that in this blog post.
Sju sorters kakor (seven kinds of cookies) is as Swedish as moose hunting,
lingonberries (<- coffee maker made recipe for lingonberry ice-cream), midsummer, clogs,
semla (<- coffee maker made recipe for semla), the Skarsgård family,
Prinsesstårta (<- coffee maker made recipe for prinsesstårta), Absolut Vodka, Astrid Lindgren IKEA, the word "lagom", snus,
knäckebröd (<- coffee maker made recipe for knäckeböd), talking about the weather,
meatballs (<- coffee maker made recipe for meatballs), fika, Systembolaget and royalties with dyslexia.
I don't know anything about the history for Sju sorters kakor either, and once again I don't care. I know it's supposed to be seven kinds of different cookies that you have on your fika and then everybody is happy.
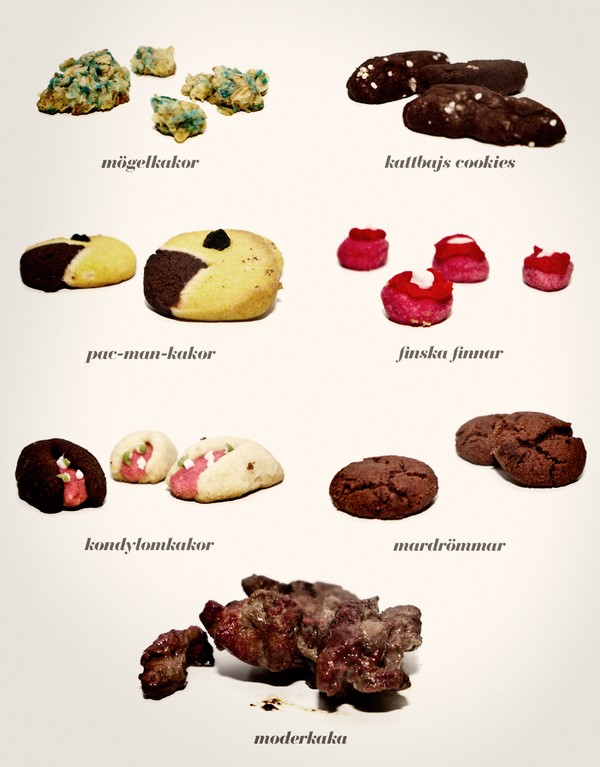
These are my seven cookies I want to invite you for on a fika.
Shit. This recipe is so much more fun in Swedish. Now you have to learn the Swedish names for the different cookies. You learned the word Smörgåsbord so you'll manage. Cookie = kaka.
Mögelkaka: Mold cookie
Kattbajskaka: Cat poop cookie
Pacmankaka: Pac man cookie
Finska finnar (Finska pinnar is a traditional cookie): Finnish pimples
Kondylomkaka: Condyloma cookie
Mardrömmar (Drömmar is also a traditional one): Nightmares (drömmar= dreams)
Moderkaka: Placenta
Time
30 minutes/cookie
Instructions
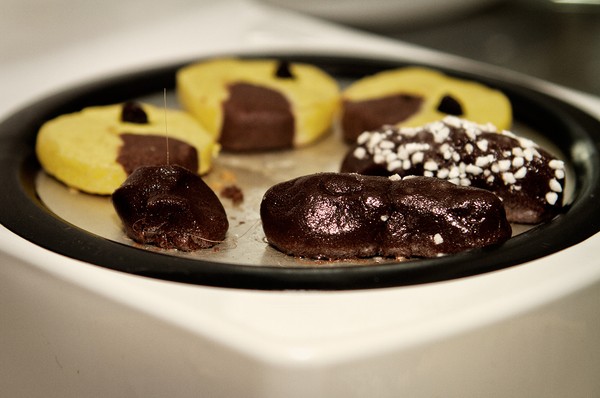
Mix all the different cookie ingredients. Prepare the cookies as they should be prepared (see below) and put them on the coffee maker heater. Let them coffee maker bake until they are baked properly. Don't forget to turn off your coffee maker when you are done baking!
Which one do you prefer?
Let's start with the preparations of the Mögelkaka.
Mögelkaka = Mold cake
The ingredients are oatmeal, sugar and butter. Mix them together and add just a few drops of blue caramel color. Stir a little and tadaaa! It looks just like mold.
Doesn't it like it has molded?
Kattbajs kaka = Cat poop cookies
These are shortcrust cookies + cacao (+ hair). Gucci was my inspiration for this recipe. You know when cats accidentally eats hair a turd might hang out from the anus because of the hair that's still inside. And the cats panic because somethings chasing them... Gucci does that quite often. Ha! Poor cat.
Pacman kaka = Pac man cookie
Also shortcrust. Some of it with cacao and some of it without. The eye is a corinth.
Finska finnar = Finnish pimples
Shortcrust + glaze + caramel color = Finnish pimples.
Finnish pimples are those tiny ones.
Kondylomkakor = Condyloma cookies
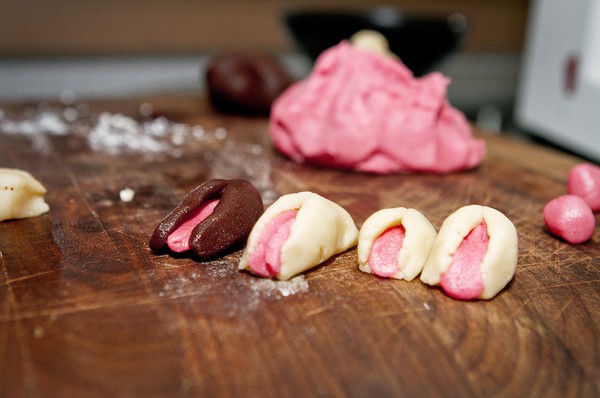
Aren't these cookies cute? I told you that Maria is a bake pro and she made these little cookies look just like small vaginas. Small vaginas with condyloma. Only using shortcrust, some cacao, caramel color and glaze.
Before condyloma outbreak.
Mardrömmar = Nightmares
Google recipe for "Drömmar" and add cacao. Then you have a nightmare cookie. This one was Maria's favorite.
Zappa, with flour on nose, is photo bombing.
Moderkaka = Placenta
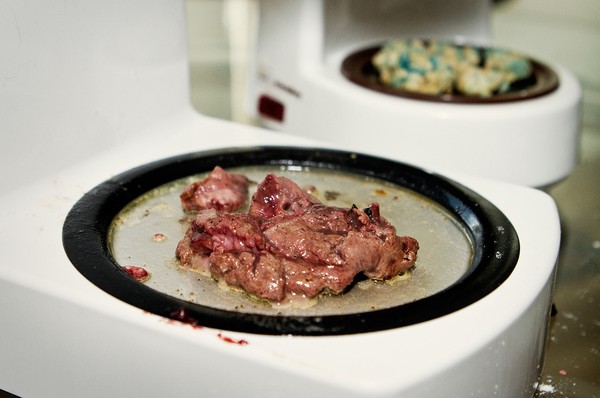
The Moderkaka is not at all a traditional 7 sorters kaka. Okey, none of the above are but the other ones are at least based on the same ingredients as traditional ones. The Moderkaka is harder to find but just ask the nearest hospital/pregnant friend or vet and you might get lucky.
Tip: Cook the Moderkaka last.
If you don't want to have these weird cookies on a normal fika, they might be more suitable for a halloween fika?
Fika time - Semla time
A Semla is a great little thing. Unfortunately we only eat in once a year and that's on the Fat Tuesday. Or no we don't. You're supposed to eat the Semla only on the Fat Tuesday but it seems like every day from christmas to easter is Fat Tuesdays because we Swede's obviously can't settle for just eating the Semla once a year. And the bakeries are well aware of that...
So the Semla history? I don't know anything about it (didn't some old Swedish king die from eating only Semlas?). I could just google it but I don't care. It's not important. Now I'll tell you what's important with the Semla. And that's how you bake it on a coffee maker.
Oh! I modified the Semla into Semlapraliner (like baby Semlas). So now you can eat lots of Semlas instead of just one at a time. Because let's face it... You only need to eat one normal sized Semla. They are quite filling and you feel disgusted after eating them. But they are great!
In the background you can spot coffee maker baked baby cinnamon buns.
Time
1 hour (+ dough making)
Ingredients
A dough (I baked this (and lots of other stuff as well) together with my friend and bake pro Maria so I let her take care of the dough)
Whipped cream
Sugar
Vanilla sugar
Almond icing (is that the correct word for mandelmassa?)
Powder sugar
Instructions
Make the dough like Maria did.
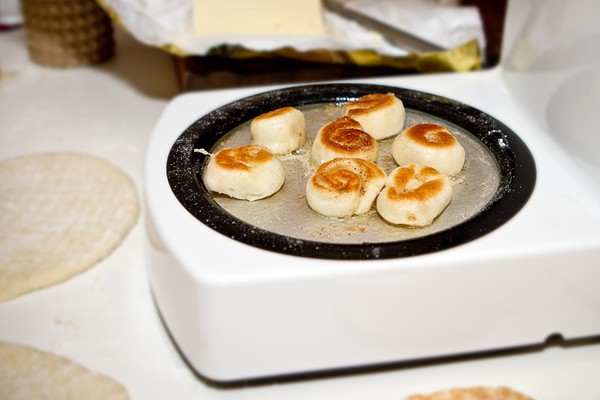
Start the coffee maker. Split the dough into small pieces and form them into little buns. Bake them on the heater for approximately 40 minutes (depending on the size). Twist and turn so they get baked thoroughly.
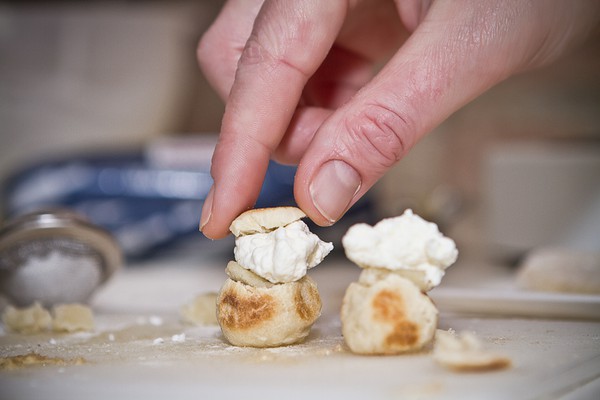
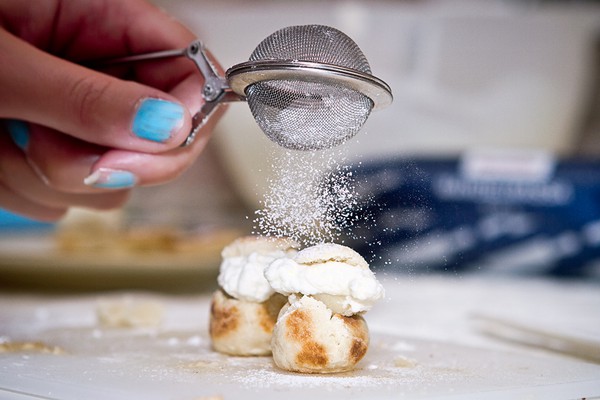
Mix sugar, vanilla and cream and whip it hard so it gets really fluffy. Cut the tip of the baked bun off and spread a wide layer of almond icing on the bottom. OOOooh! You can even add some almond icing in the whipped sugar cream if you fancy almond icing as much as I do. Add sugar (and almond icing) cream and put the little lid on top. Cover it with powder sugar.
And the fika is ready!
This was, as you can see, the baking of the baby cinnamon buns. But it looked almost the same.
Precision...
Tadaaa! Masterpiece!
We baked lots of other things that day, and other days as well. One of my all time favorite recipes I've made together with Maria and that's "7 sorters kakor". Well I might have 20 favorite coffee maker made recipes but 7 sorters kakor (7 kinds of cookies) is definitely one of them. Gonna show you how to bake that soon in another blog post!
Chicken Bruschetta
Time
1,5 hours for 4 bruschettas
Ingredients
Chicken filet
Bread
Green pesto
Cocktail tomatoes
Basil leaves
Red onion
Parmesan
Olive oil
Chili flakes
Flaked salt
Instructions
Start your coffee maker. Cut the bread and roast it on the heater - approximately 15 minutes on each side. Place them on a dish and pour a little oil on the heater. Let it get really warm and thereafter place the sliced up chicken filets in it. Fri it THOROUGHLY, it can't be pink at all. It took about 45 minutes when I did it. Turn it every now and then. Season with chili flakes. Turn off your coffee maker.
Spread pesto on bread and place the well done chicken on it. Slice up some onion, add it together with a tomato, a basil leaf and a dash of olive oil. Sprinkle the bruschetta with flaked salt. Stick a toothpick through the whole thing so it won't fall.
Enjoy!
How do you roast your bread?
Twist and turn so it won't get burned.
I scream, You scream, We all scream for Coffee Maker made Lingonberry Ice-cream!
I wanted a dessert tip and
@chrismada9 got the great idea that I should cook coffee maker made lingonberry ice-cream. The last two days I've been talking crazy much about lingonberry (this ice-cream recipe was a bit delayed due to the
cheese fondue recipe). The ones who follow the
@sweden -account definetly like lingon, that's for sure.
Usually I'm not that fond of lingon, except with meatballs. Now that's a perfect match! But I never eat lingon in or with much else.
Unltil now! Lingonberry ice-cream is delicious!
Time
6 hours
Ingredients
2,5 dl cream
2-3 egg yolks (the yolks I had was pretty small so I used 3)
3/4 dl sugar
1 tsp vanilla sugar
1-1,5 dl lingonberries (not sure of this word but I used "preserved raw" ones or "rårörda" like we say in Sweden)
A couple of meringues
Basil leaves (well that was the only green "piff" I had so I took it)
Instructions
Start your coffee maker. Pour cream in the coffee maker can and heat it for almost an hour, it should get really warm. Give it a good whip every now and then, you know how easily cream burn.
Meanwhile mix eggs, sugar and vanilla together so it get's fluffy. Pour the egg fluff with the warm cream in the can and put it back on the heater. Now this mixture shall coffee maker stir cook for a while until it thickens a bit, about 45 minutes. Turn off your coffee maker.
Before you add lingonberries and meringues just let it cool for a while.
Thereafter add lingonberries and meringues into the mixture and pour the ice-cream into forms. Place them in your freezer, stir every 30 minutes, until they get a nice ice-creamy consistency.
Eat and enjoy!
Cream in coffee can.
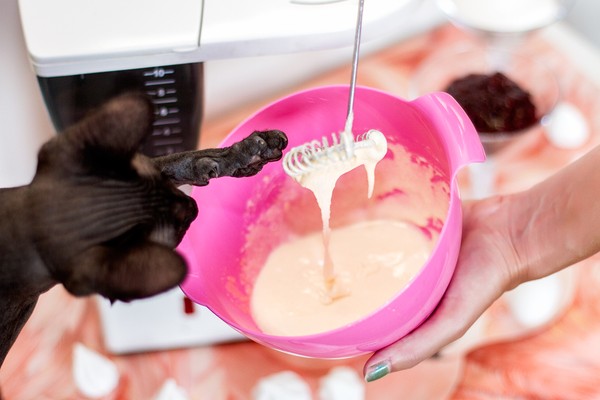 Coffee maker chef's little helper. Or probably more like coffee maker chef's litte "stjälper" (Swedish word for not helping typ).
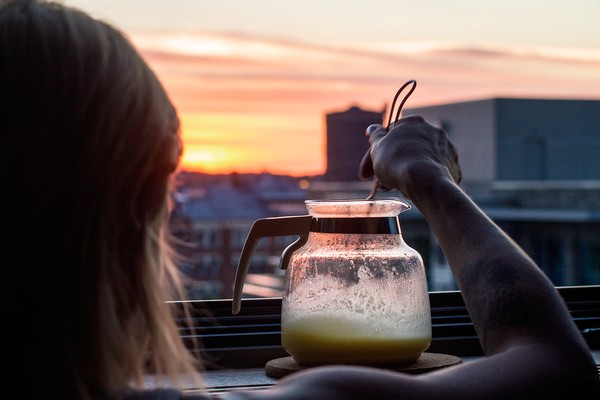
A nice place to cook and chill.
Didn't find baby meringues, but this worked just fine.
Can you see what's standing next to the coffee maker made ice-cream? An ice-cream machine, ha!
Eat it before it melts too much! (You probably won’t have that problem if you mustn’t wait for the photoshoot of the coffee maker made lingonberry ice-cream presentation.) Yummie!
Got many questions about if it's tricky to clean up after cooking. Answer: Not at all.
Coffee maker made Cheese Fondue
Yesterday evening was a beautiful night in Gothenburg so me and Dan decided to have a coffee maker made romantic dinner together. Or we did a romantic dish anyway, I don't know how romantic the dinner was since none of us were hungry when the food finally was ready and I was organizing food/tweeting/watching tv all the time and Dan took pictures of food and a coffee maker. I think that's more fun that a romantic dinner anyway.
But it tasted great!
 Time
Time1,5 hours
Ingredients1 dl white wine (apparantly it doesn't matter what wine. I used an open bottle of "ful-vin" (=ugly wine) that I happened to bring back from Roskilde festival and it tasted good anyway)
1 small garlic clove
3 dl grated cheese
Some parmesan
A few drops of lemon juice
1 tsp dijon mustard
White pepper
Bread
Pepperoni
Basil leaves
(+ whatever you would like to dip in the fondue)
Instructions
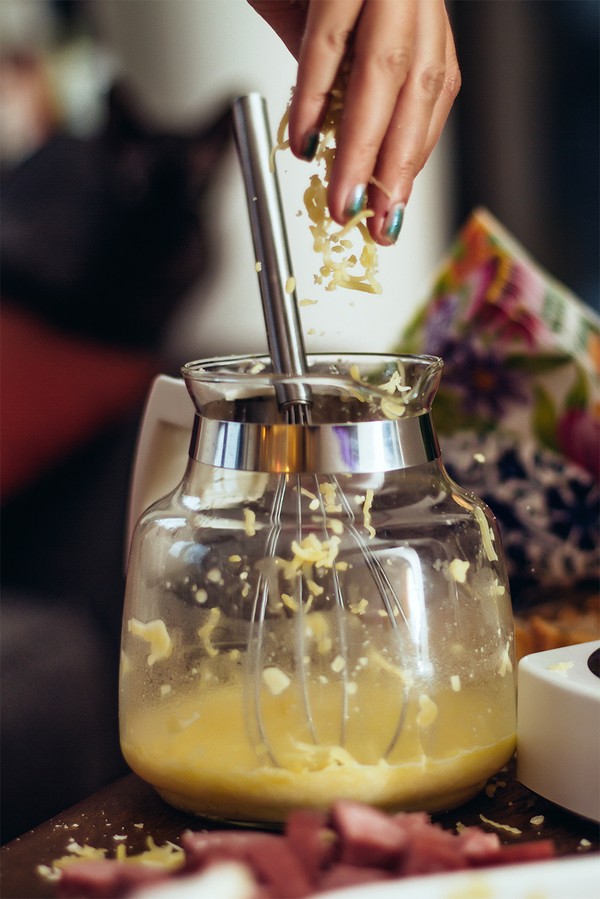
Start the coffee maker. Pour in wine and chopped garlic. Heat it for half an hour and then add cheese, lemon juice and mustard. Leave it on the heater until the cheese is fully melted. Stir every now and then, it burns quite easily otherwise. Season with white pepper.
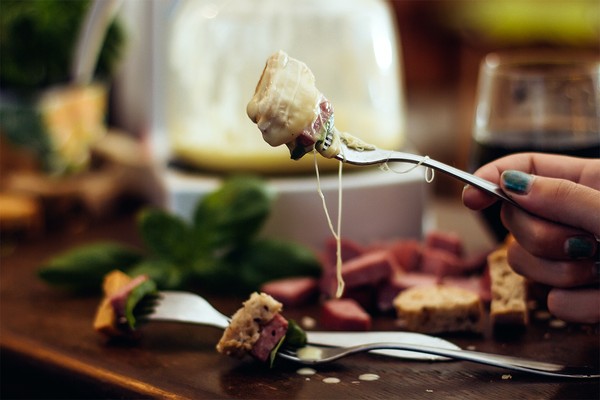
Put basil, bread and pepperoni on those fondue thingies that you should put that stuff on (or a fork like we did since we don't own things like that) and dip it into the cheese.
It's super smart to make fondue in a coffee maker since the food has to be over a heater all the time so it won't solidify. Just eat it directly from the can, but don't remember to stir it sometimes (and to turn the cofee maker off when you've finished). We also made this with chocolate fondue a while ago and that worked just as well.
Coffee maker heating of the wine and the garlic.
"I CAN HAS CHEEZ FONDUE?"
 Say cheese!
Can you find Zappa in this picture?
Our lovely view over Gothenburg last night.
Oooh! A great tip: Put a block candle in the part of the coffee maker where you usually pour water. Tadaaa! You now have a coffee maker lantern. Perfect for romantic fondue dinners with a coffee maker!
How to make a Catograph!
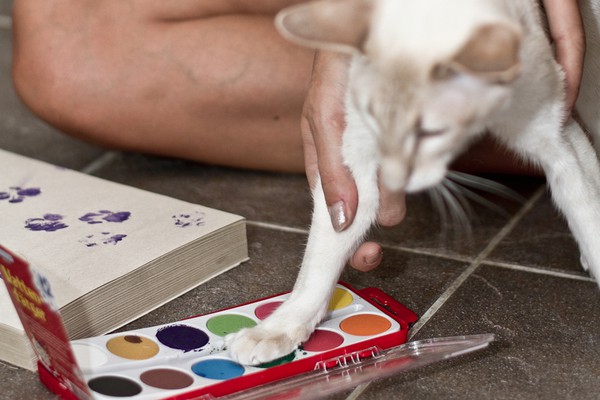
Since both Iggy and Gucci (Zappa wasn't born when we made the book) have their own recipes in Kaffekokarkokboken it was important to all of us that they too should be able to sign it. But it's kind of tricky to bring them to book releases, book fairs and stuff like that. Well, it would be tricky anyway since they don't have opposable thumbs and really don't understand much of anything since they're cats. We thought that we should make a autograph stamp for cats. A catograph (in Swedish Kattograf)! Said and done.
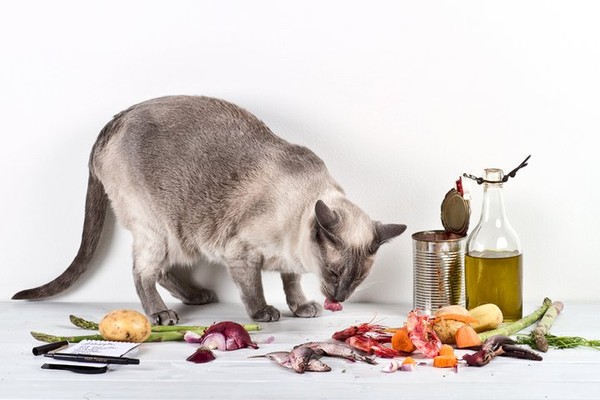
Oh, another thing first. It was extra important with the catograph because Iggy is even a cover cat. During the book cover photoshoot we tried Gucci at first because she is much more easy to handle. If you put her some place she will stay and do what's said. And she did exactly what we told her to during the shoot. But when we looked at the photos we saw that she was way too ugly. So we tried with Iggy and after lots of pics we got it! Here's the result.
And here's one of the better pictures of Gucci that didn't work as a cover.
But she is in the book many times, also at the very last page. That picture looks like this:
Back to the catograph stamp!
You need
At least 1 cat paw
Watercolor (or some color that's not poisinous and easy to wash off)
Water
Brush
Paper
Instructions
Mix the color (preferably a darker tone) with water and then you can either do it:
A) The Gucci way
2. Show the cat so that he/she can approve it.
3. Press the paw against the paper. It's too bad Gucci isn't just a paw model, she got such a beautiful little pawie.
b) The Iggy Way
Since Iggy, like I said, never do what we tell her to do she just wanted to eat the brush. That's why we tried another way...
...press the paw into the color and then press it on the paper.
Iggy also wanted to sign the books with a kiss (look at gucci's paws <3).
After this you take a picture of the prints, transfer them to the computer and send it to some stamp factory.This is the result!
Iggy's kiss stamp:
(kidding)
The catographs:
People have been mailing me and asked me if they could get a catograph stamp in their Kaffekokarkokboken books. They don't ask for mine och Dan's signatures, only the cat's.
And that's how you make a catograph stamp!
From our book release party. No (living) cats were allowed at the party, but can you see the stamp? The grey one with a blue hat. That's the catograph stamp!
Håkan!
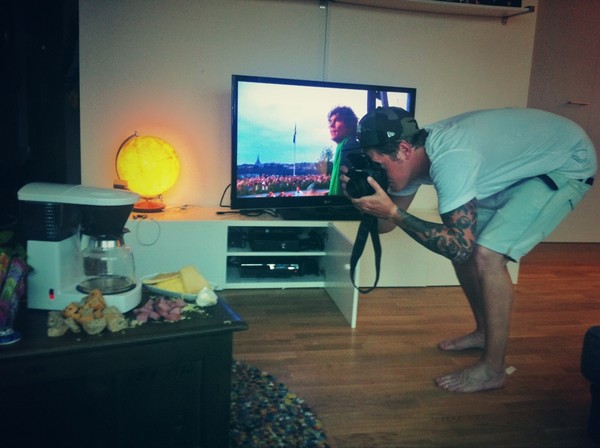
Watching Swedish artist Håkan Hellström whilst coffe maker cooking photographer/coffee maker cooking chef's boyfriend
Dan is taking some pictures.
How to make food in your coffee maker
Now I'll show you some basic instructions in how you can make your food in the coffee maker. And at the same time I'll learn you some Swedish terms. They are so much catchier! I mean:
Coffee maker cook book = Kaffekokarkokboken (try to say that seven times quickly)
Coffee maker cooking chef = Kaffekokarkock
Coffee maker cooking = kaffekokarkokning
Of course it's possible to cook stuff in a coffee maker. Some of you probably prefer to cook your coffee but you can do lots of other stuff as well. The fastest way is when you just uses water to cook in. Put the ingredients in the can and water in the brewer. Then the ingredients will start to cook. Yeah, it will take some time but it works.
If you're going to make liquid stuff that contains other ingredients than water it takes a more time. For example spaghetti sauce, creamy soups or caramel have to be warmed up from the heater, you can't put those liquids in the brewer. Think about that so you don't cook very big portions. It will take forever.
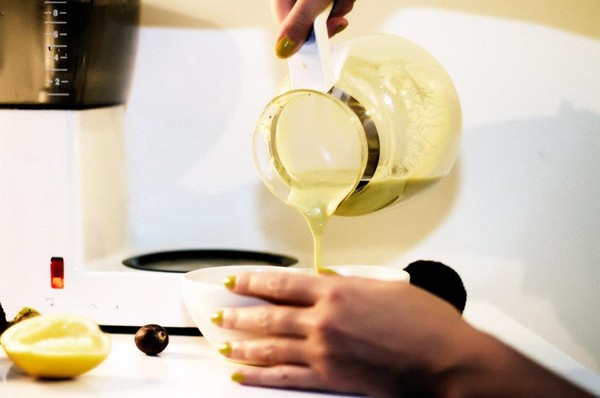
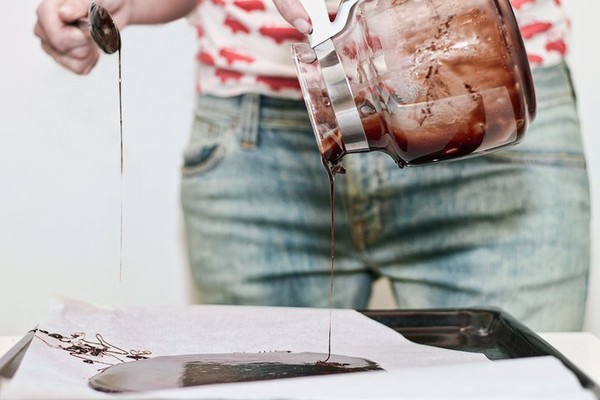
I really, really love caramel. Probably the best thing you can cook in a coffee maker. That you can cook on anything actually.
You get the basic cooking in the can part now, don't you?
Coffee maker frying = Kaffekokarstekning
Some things must be well done, or close to well done, when it's served. The best example must be chicken, but also bacon and other meat. Even things like pancakes that's not supposed to be doughy. And bread!
With or without butter/oil put the stuff directly on the heater and then wait. Bacon takes for example around 45 minutes to cook.
Don't forget to turn the food around every now and then, otherwise it will burn.
(This might be a little to much meat.)
Clear as a cristal! Or "Klart som korvspad" like we say in Sweden.
Coffee maker can frying = Kaffekokarkannstekning
If you don't have to fry stuff really hard then can frying is a good option. It is exactly what it sounds like, you fry things in the can. It's not as sticky as frying directly on the heater and easier to clean. But only for things that don't need a roasting surface. If you are going to fry vegetables this is a good choice.
I think we can call this the basics in coffee maker cooking (kaffekokarmatlagning). Did I mention that it takes a long time? I think so but it's worth mentioning again.
Some other fun tips
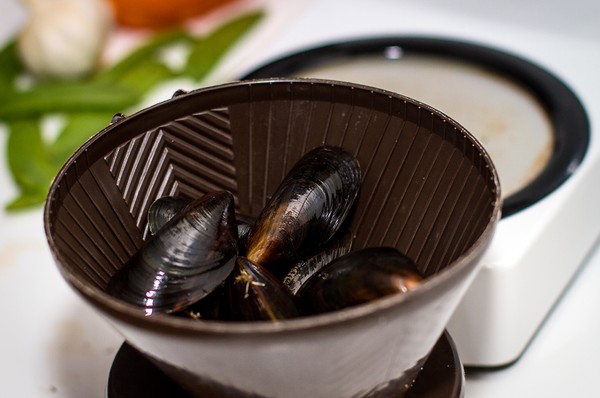
This part is perfect for mussels steaming (if you cook the water through the brewer).
The mussel steamer also works as a strainer. Or to put spices in.
Just clean the can and heater like you clean your other food cooking instruments. Don't forget to pull out the cable first.
The can is also warm and comfy to sleep on when the christmas caramel takes a forever to cook.
Well I think that's enough for now! Some other day I'll show you how to cook with a dishwasher, iron, toaster, waffling iron, hair curler, hair straightener etc. Yup those are some of the other things I've been cooking on.
"Teh meat smells purrfect!"
Happy coffee pot cooking!
Picnic sticks
It's a perfect summer day in Gothenburg and a perfect day for a picnic. So now I'll show you how to do a really simple summer dish in your coffee maker.
Time
45 min
Ingredients
Bread
Cocktail tomatoes
Baby mozzarella
Basil leaves
Garlic
Butter
Olive oil
Balsam vinegar
Chili flakes
Instructions
Start the coffee maker. Put butter on the frying pan and press garlic over. When it's melted all you have to do is fry the bread until it gets a golden color on all sides and gets crispy and nice. Turn off the coffee maker.
Place bread, mozzarella, tomatoes, basil on small sticks. At last sprinkle chili flakes and a couple of dashes of balsam vinegar and olive oil over.
How to cook pizza in a coffee maker
Since I'm a
curator of Sweden this week all the post will be in English (follow me on twitter ->
@Sweden). Or probably Swenglish. Maybe a bit of both with a nice mix of google translate. If something is totally wrong and you don't get it at all, just ask. Otherwise I hope you will have some patience with my English. :)
Just came home from Roskilde festival and we had a fantastic time. Won't be able to move away from the sofa today so picked up pizzas on our way home. We used to live next door to a great pizza restaurant a couple of years ago and when we called them today they still remembered us. They think my special pizza I always order is crazy. But what do they know?! Here is how you cook it on a coffee maker.
Oh! This is a recipe that I cooked and published a while ago. It takes really long time to cook food in the coffee maker so will mix up as many new recipes as possible with old favorites.
Enjoy!
And all of you new readers, you can also discuss cats, food and other stuff with me on:
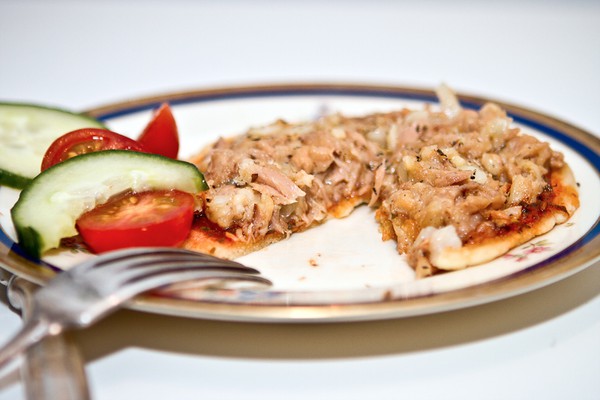
Time
Approximately 3 hours for one mini pizza
Ingredients
It's hard to write an exact recipe for a mini pizza, it such small amounts. The dough is a recipe for a large pizza, which you may divide into smaller pieces. It is also possible to freeze the pizza dough.
Pizza dough (for many mini pizzas)
50 g yeast
1 teaspoon salt (preferably sea salt flavored with rosemary)
A pinch of sugar
3 cups water
0.5 ml olive oil
9 cups flour
butter
Tomato sauce (also very small amounts)
passata
Tomato paste
Pepper
Frozen herb mixture
Topping (for two or three mini pizzas)
½ small onion
1 can of tuna
1 tsp Mango Chutney
Grated cheese
Feta cheese
Peanuts
Curry
Salt
Pepper
Oil
Pizza Seasoning
Instructions
Mix the yeast, salt, sugar, oil and lukewarm water in a bowl. Stir it so that it blends properly. Stir in about 8 cups flour (a little at a time) so that the dough becomes smooth. Prover the dough in the bowl under a cloth in a half hour. Take a piece of dough, about the size of a golf ball, and knead it thoroughly on a floured surface. Add more flour if dough is too sticky. Flatten this properly and shape it so that it fits coffee boils plate.
Like a real professional!
Start the coffee maker. Pour just a small amount of oil directly on the plate, and heat it properly - about 10 minutes. Place the thin pizza base on the tray and roast for about fifteen minutes on both sides, or until it has a nice color and are no longer doughy. Remove the pizza bottom and wipe off the coffee boiling plate.

Pour a dash of oil in the pot as you warm for about 15 minutes. Chop the onion in the meantime and fry all of it in the coffee can for about 25 minutes.
Now it's time to fix up the tomato sauce! Mix in a little tomato puree along with the passed tomatoes and season with pepper and herb mix. Stir. Easy peasy!
Mix the tuna, mango chutney, curry and cheese (or whatever you wish to have on your pizza) in the pot along with the onion. Fry this in the coffee can half an hour. Stir occasionally. Season with salt and pepper.
 Fry topping in can.
Spread a layer of tomato sauce on the pizza base and the tuna topping. Sprinkle the pizza spice and peanuts. Serve with a fresh salad and a cold beer. Omnomnomnom.
 I ♥ Pizza.
I think we should have some basic instructions tomorrow in how to cook food in a coffee maker. You can actually do lots of things. Will tell you how to tomorrow!
Festivalmat
Nu har vi varit på Roskilde sedan i lördags och har det garanterat förbaskat bra! Innan vi drog bunkrade vi upp med ett rejält lager mat, bestående av mestadels konserver. Prima festivalmat! Var så klart tvungna att provköra en burk ravioli i kaffekokaren och när vi smakade den konstaterade vi att den var ganska god. Frågan är bara hur det känns efter några dagar... Kall. Detta receptet är alltså rena lyxreceptet!
Tid
≥ 0 sek
Ingredienser
1 raviolikonserv
Gör såhär
Sätt på kaffekokaren och häll ner konservinnehållet i kannan. Låt detta värmas så länge du orkar och servera direkt ur konserven. Stäng av kaffekokaren.
Även ärtsopporna och vita bönorna funkar finfint i kaffebryggaren. Kaffekokarlagad ärtsoppa (inte konservärtsoppa) finns här och recept med vita bönor finns... Någonstans, men hittade inte det. Kanske vi bara har med det i boken.

Såhär nåt kommer det se ut när jag äter min ärtsoppa på Roskilde. Fast istället för att sitta i grönskan här nedanför lägenheten sitter jag nöjt i leran på Roskilde.
På natten till måndag kommer vi hem till Göteborg igen! Och hela den veckan dyker det upp många recept här på bloggen. Varför får du komma tillbaka igen på måndag och läsa om. Skål!
